Manufacturing an Electronic Component
From Start to Finish
Indie Hackers - October 13, 2020
Michael Lynch (@deliberatecoder)
Background
- Raspberry Pi’s annoying power design.
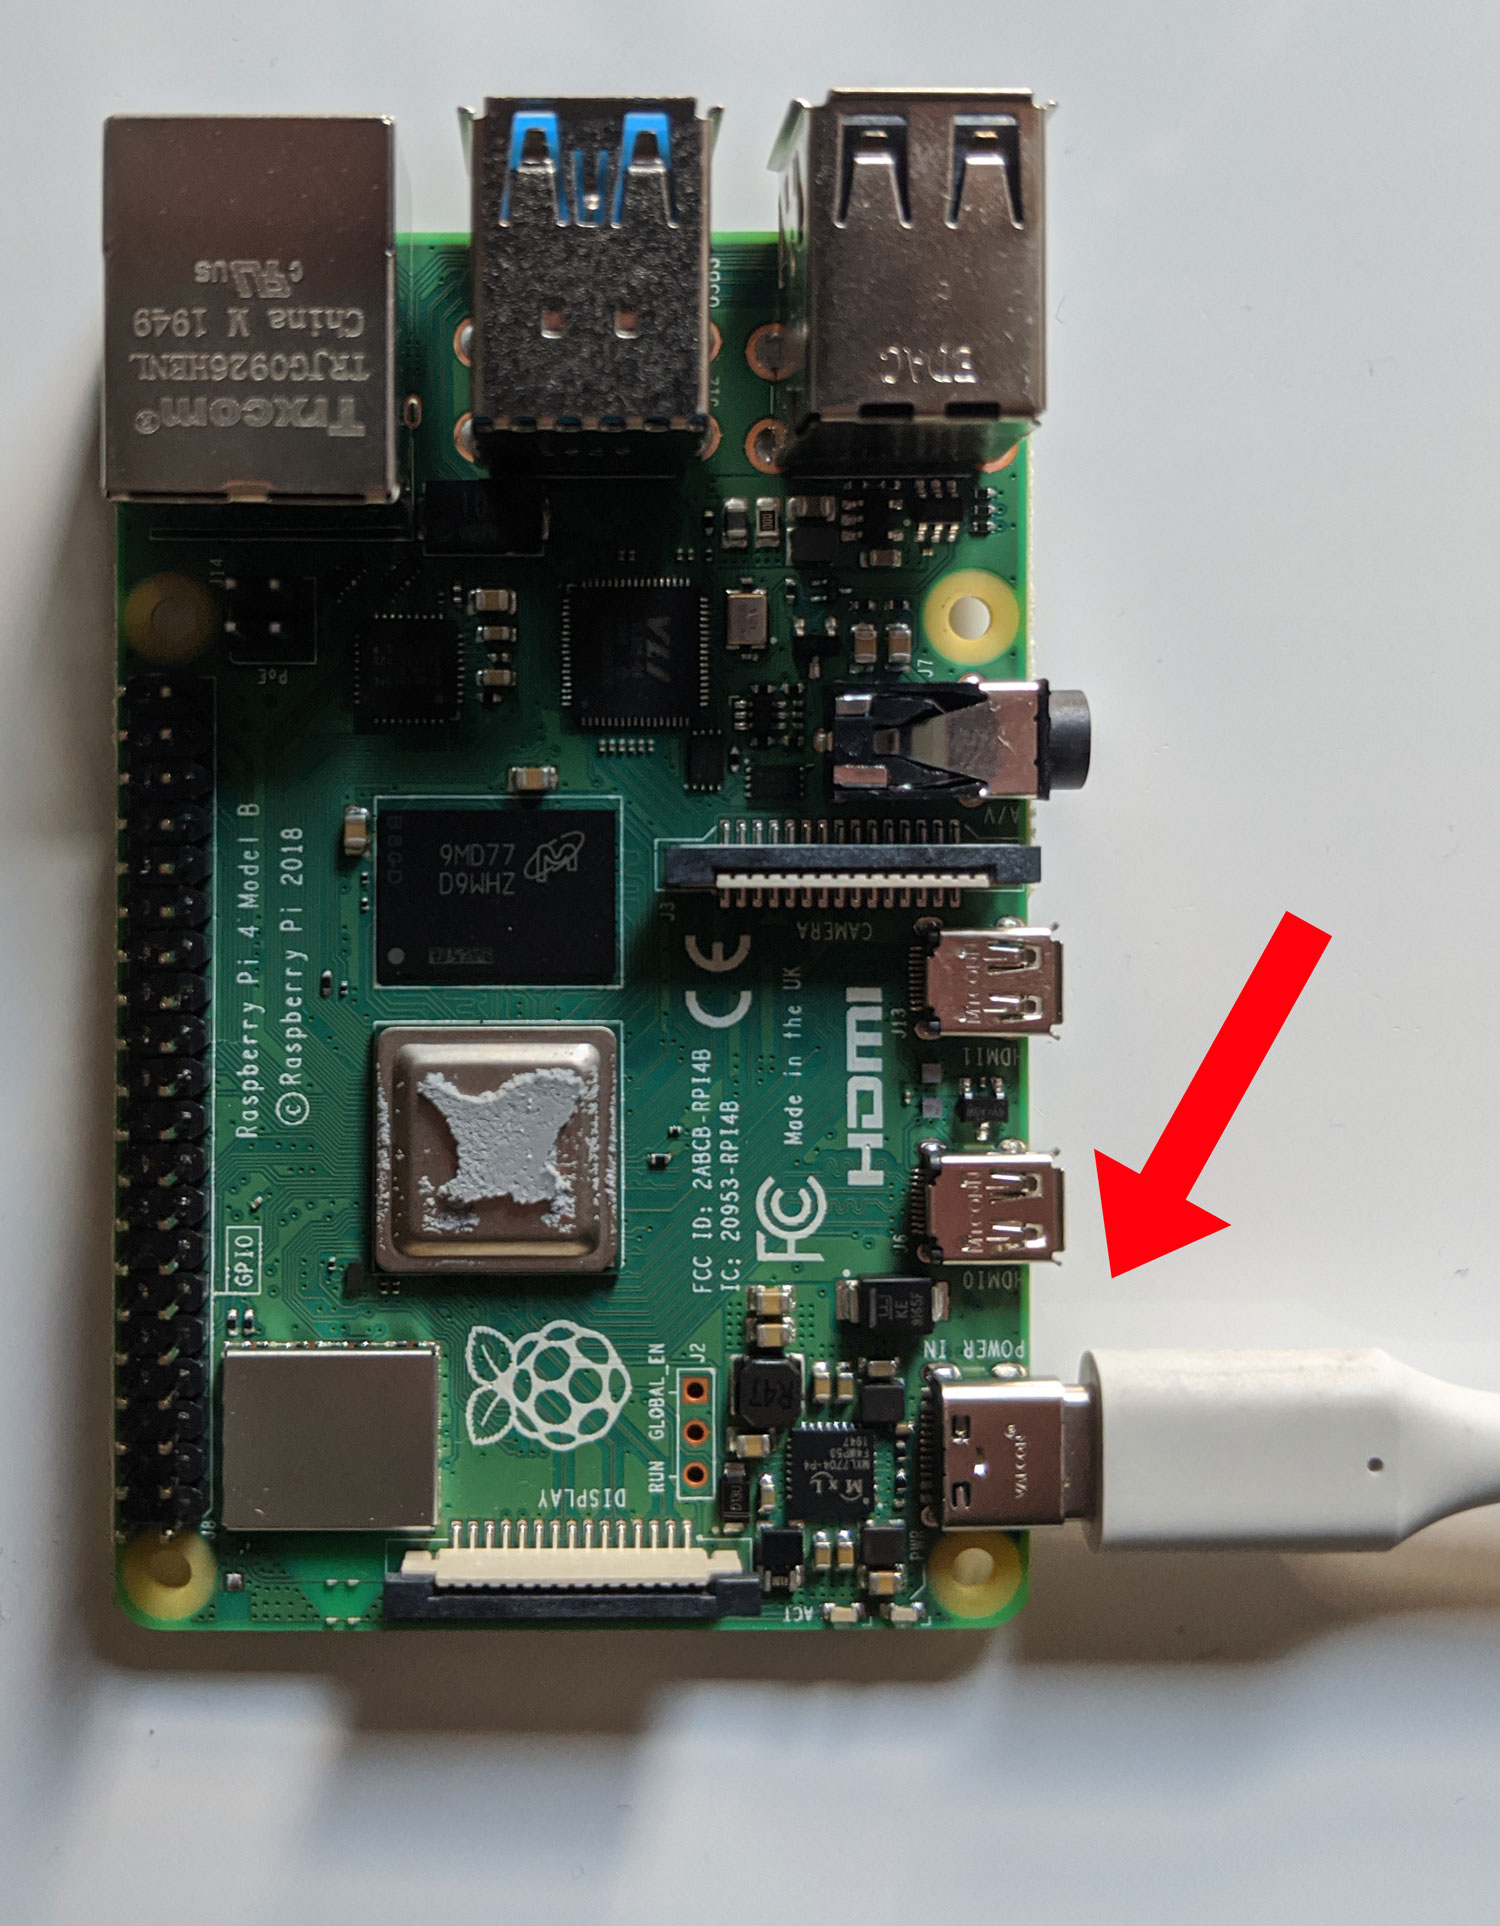
- The Pi accepts power on the USB-C port
- This is the device’s only USB-OTG port.
Background
- TinyPilot needs the USB OTG port to connect to a computer’s USB port.
- Computer USB ports output too little power for the Pi.
Background: Y-cables?
- A Y-cable seemed like the answer!
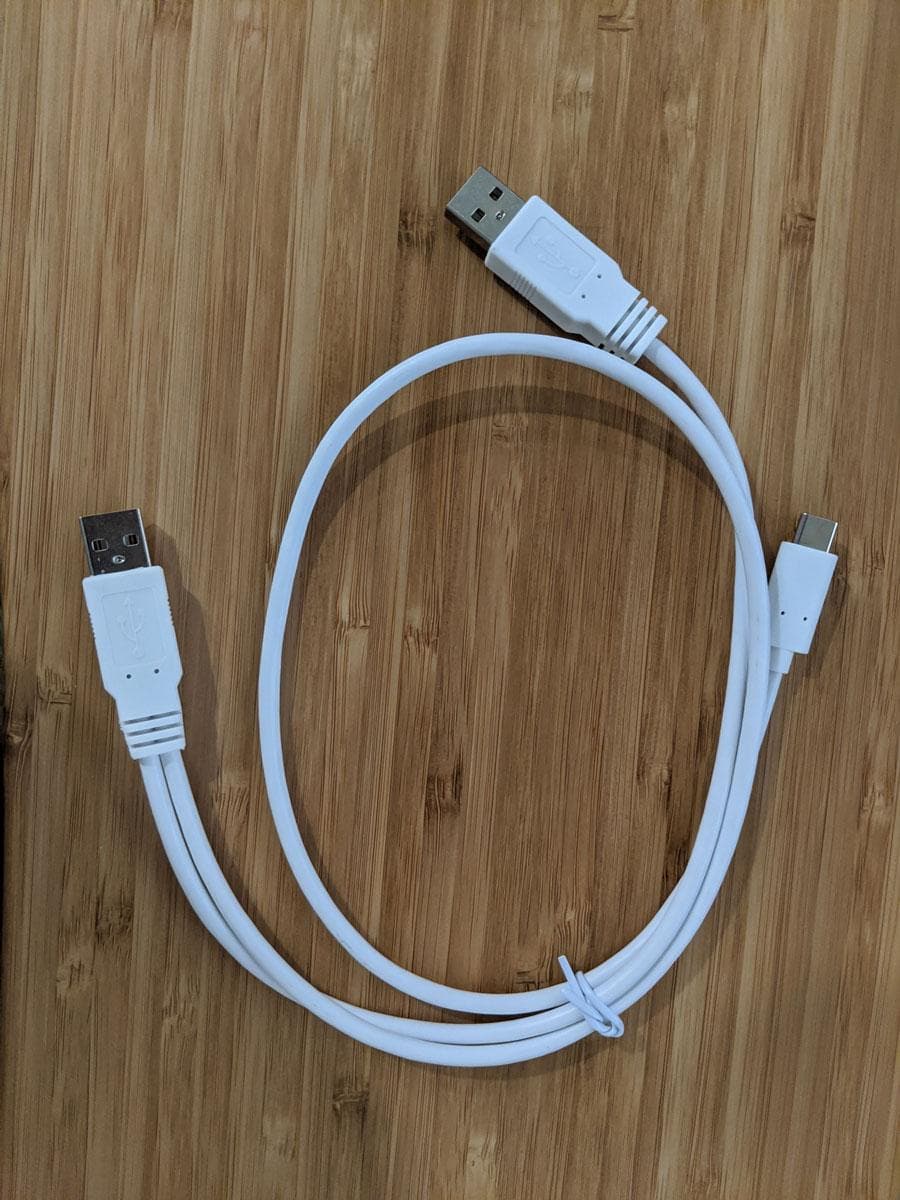
Background: Y not?

Goal
- Split access to the Raspberry Pi’s USB-C port
- Should accept 3 Amps of power.
- Should also function as a USB port.
- Prevent incorrect flows of power.
- Need it fast.
Day 1
The engineering firm begins work on the circuit board for the power connector.
It’s a simple enough board that they’re able to design it and order 100 printed circuit boards from China the same day.
Day 2
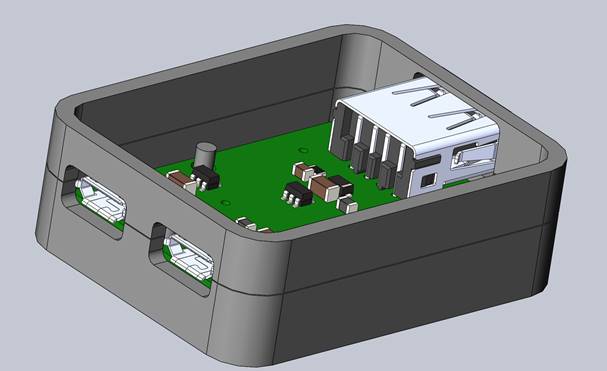
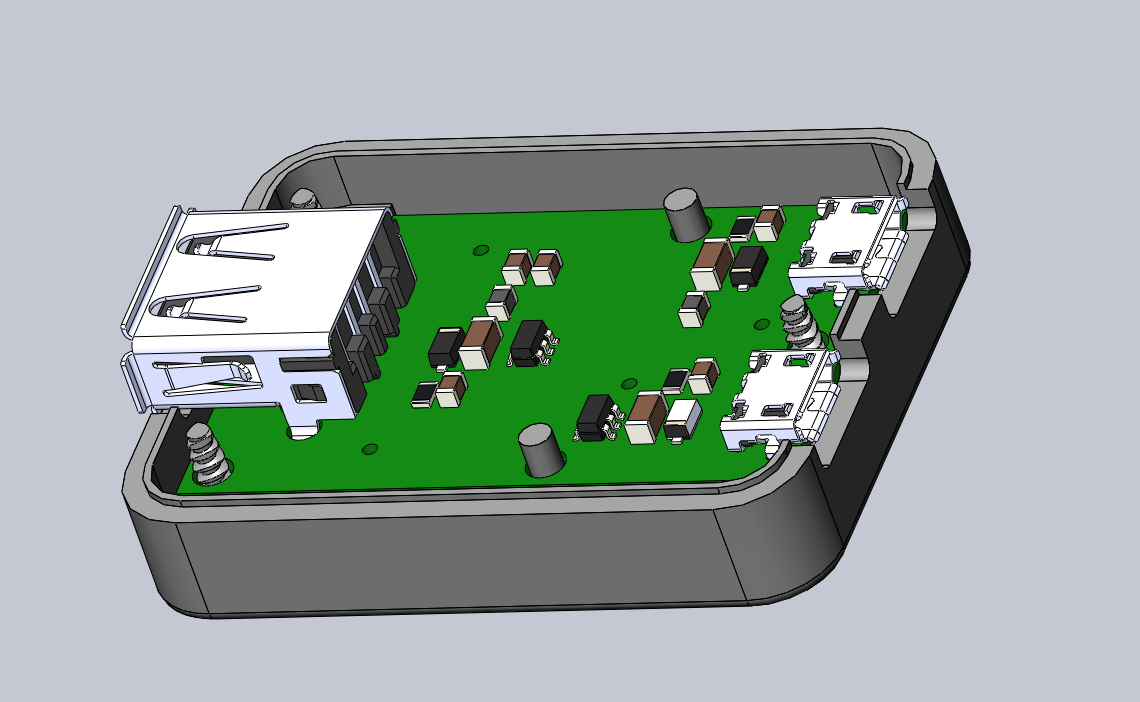
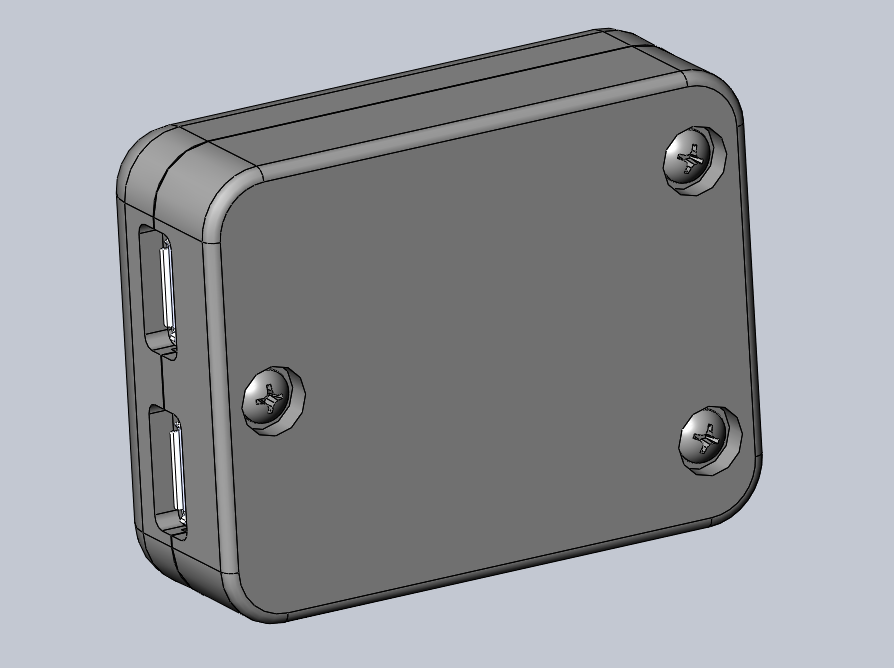
- I ask 3D printing lab to design a case for the power board.
- Within hours, they send me a work-in-progress image of the case design.
Day 5
The 3D printing lab completes their design and gets ready to begin printing a few prototype cases.

Day 8
The engineering firm receives the bare PCBs from their overseas manufacturer.
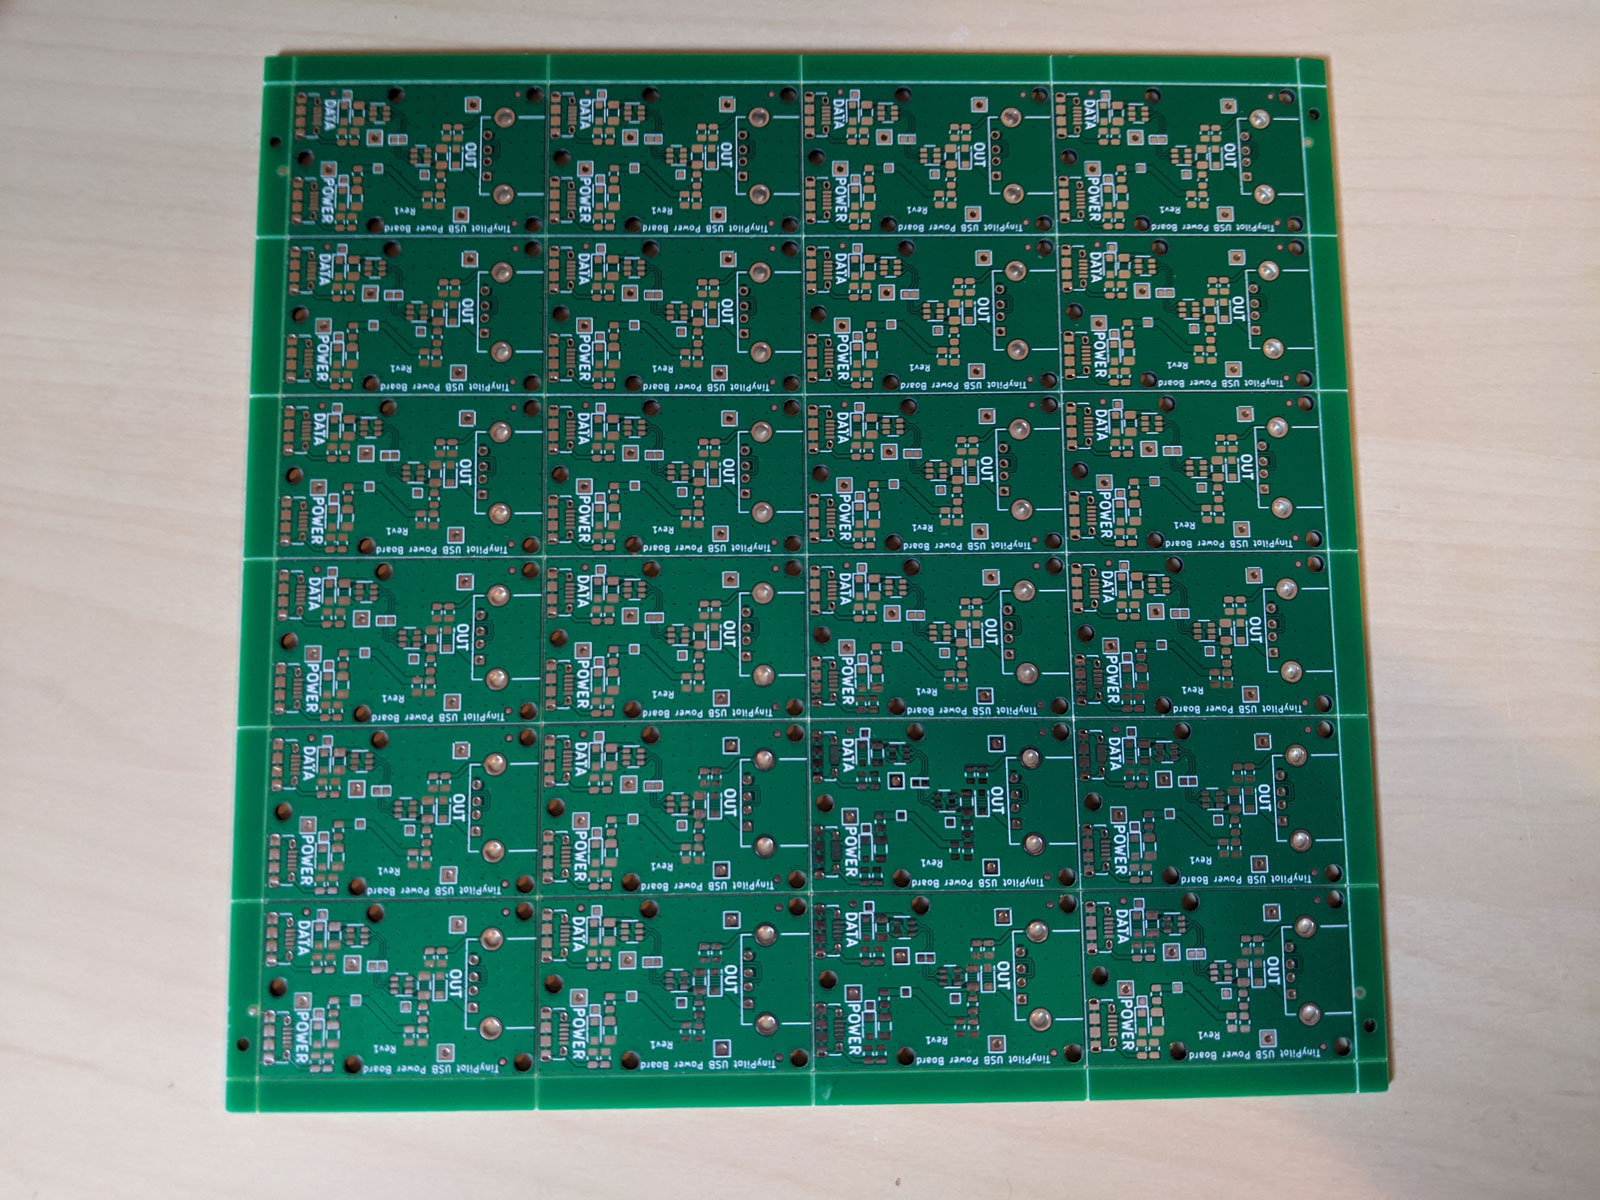
- Still need to solder on the components.
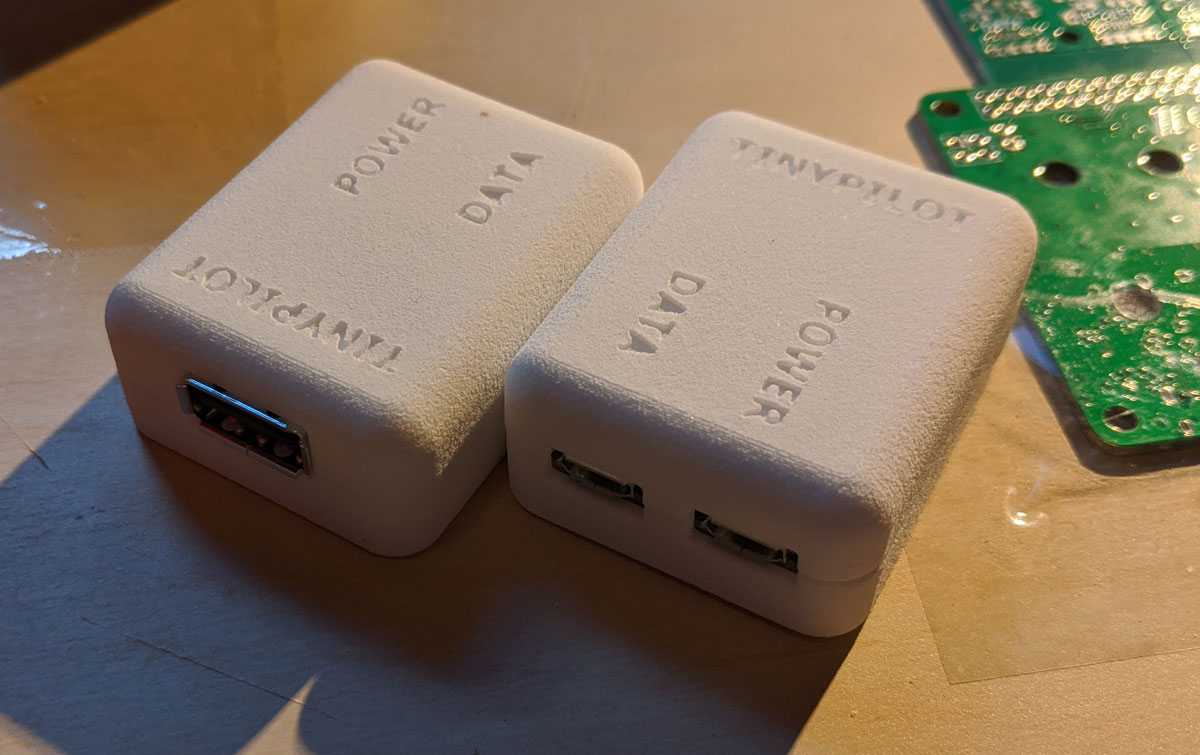
- 3D printing lab produces first two case prototypes.
- I ship them to the electrical engineers.
Day 9
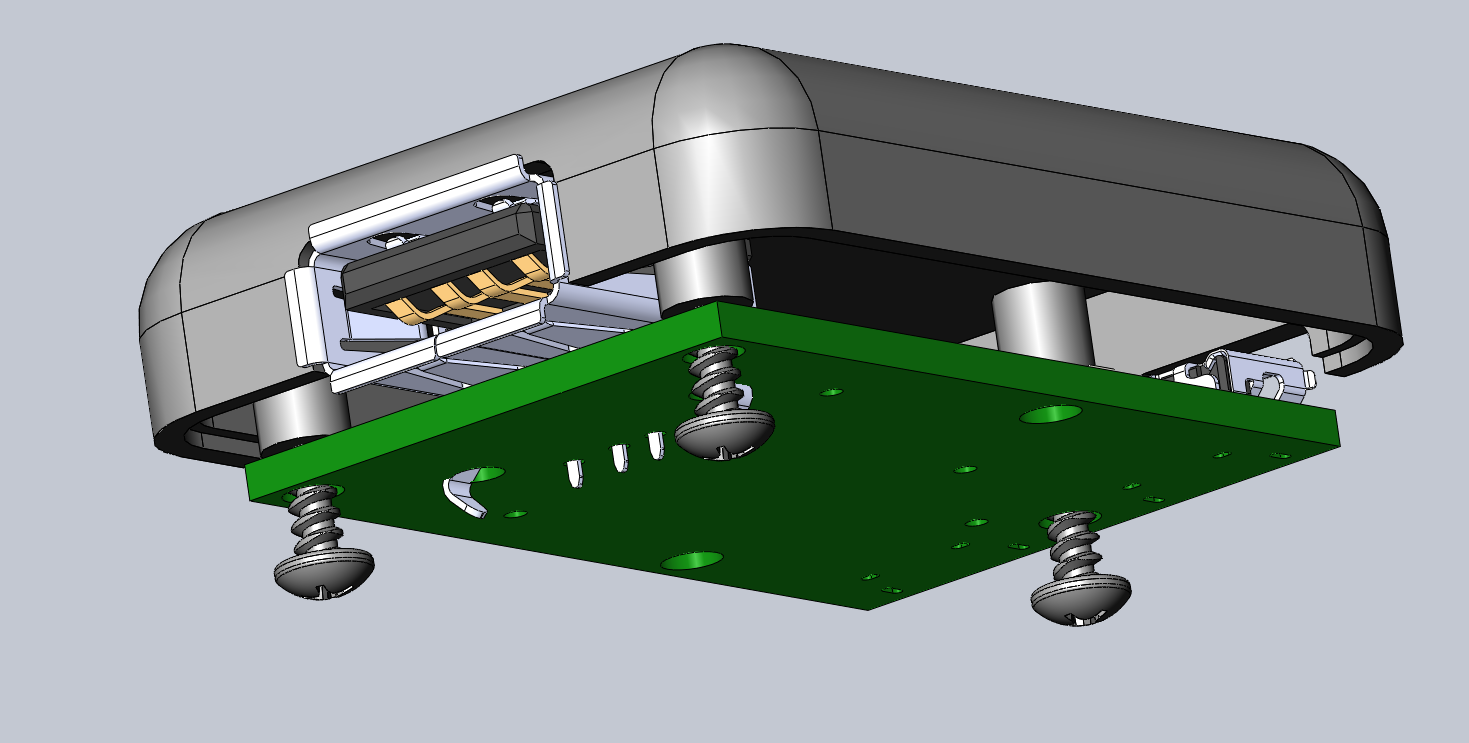
- Cases fit the boards
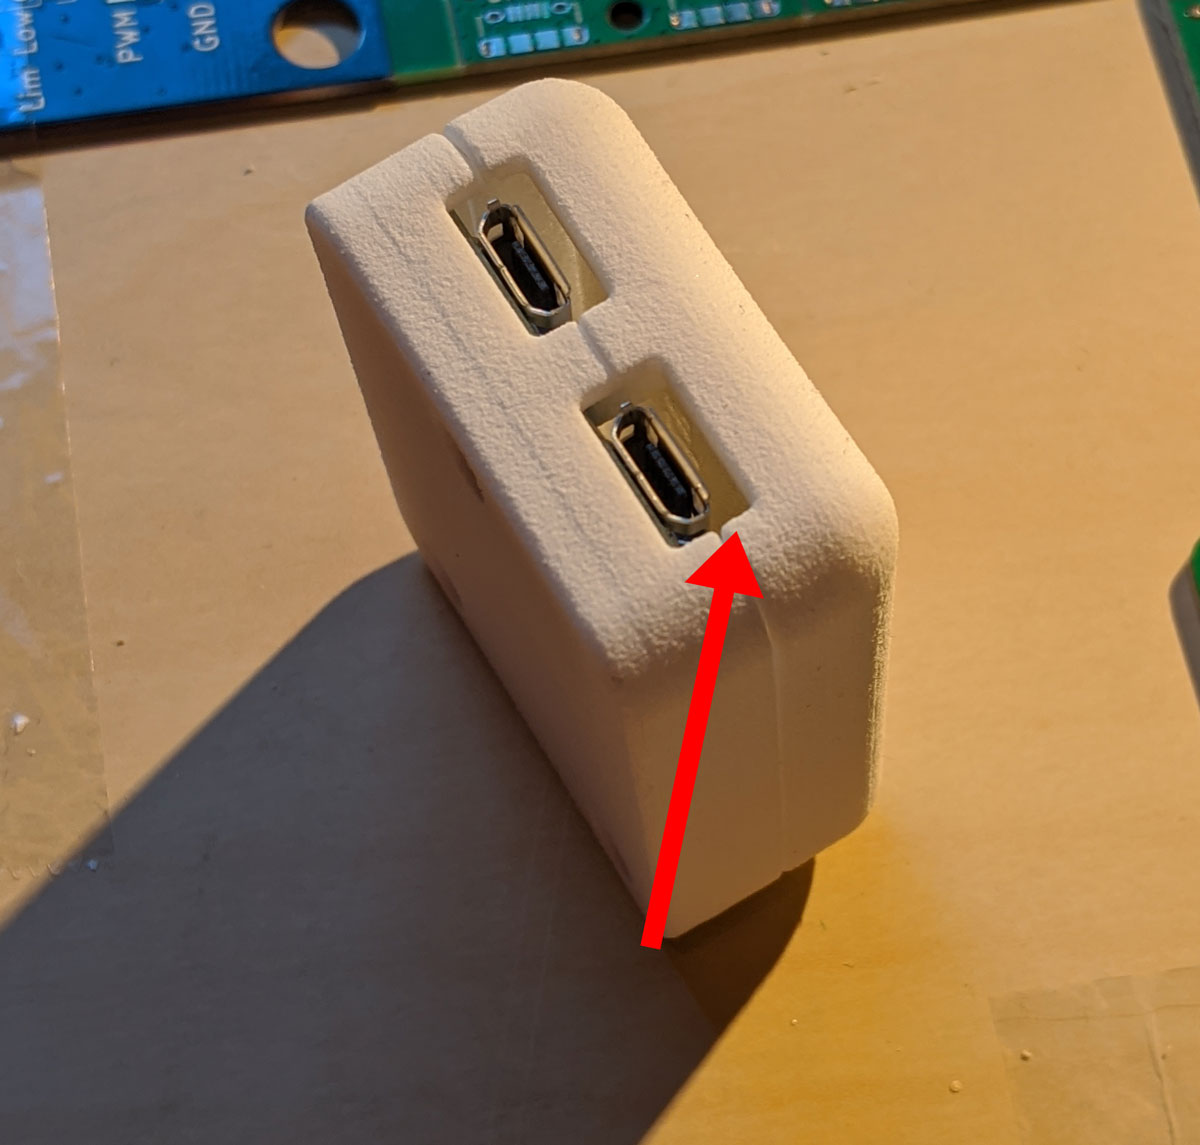
- Large gaps around the port because 3D printing lab erred on the side of caution.
Day 10
- I receive the first two board prototypes.
- They’re soldered by hand as the engineers build automation
- They work!
Day 13
- 3D printing shop prints their first batch of 30 cases.
- Still a small gap around the microUSB ports, but not a showstopper.

Day 19
I receive the first completed panel of 24 PCBs from the engineering firm.
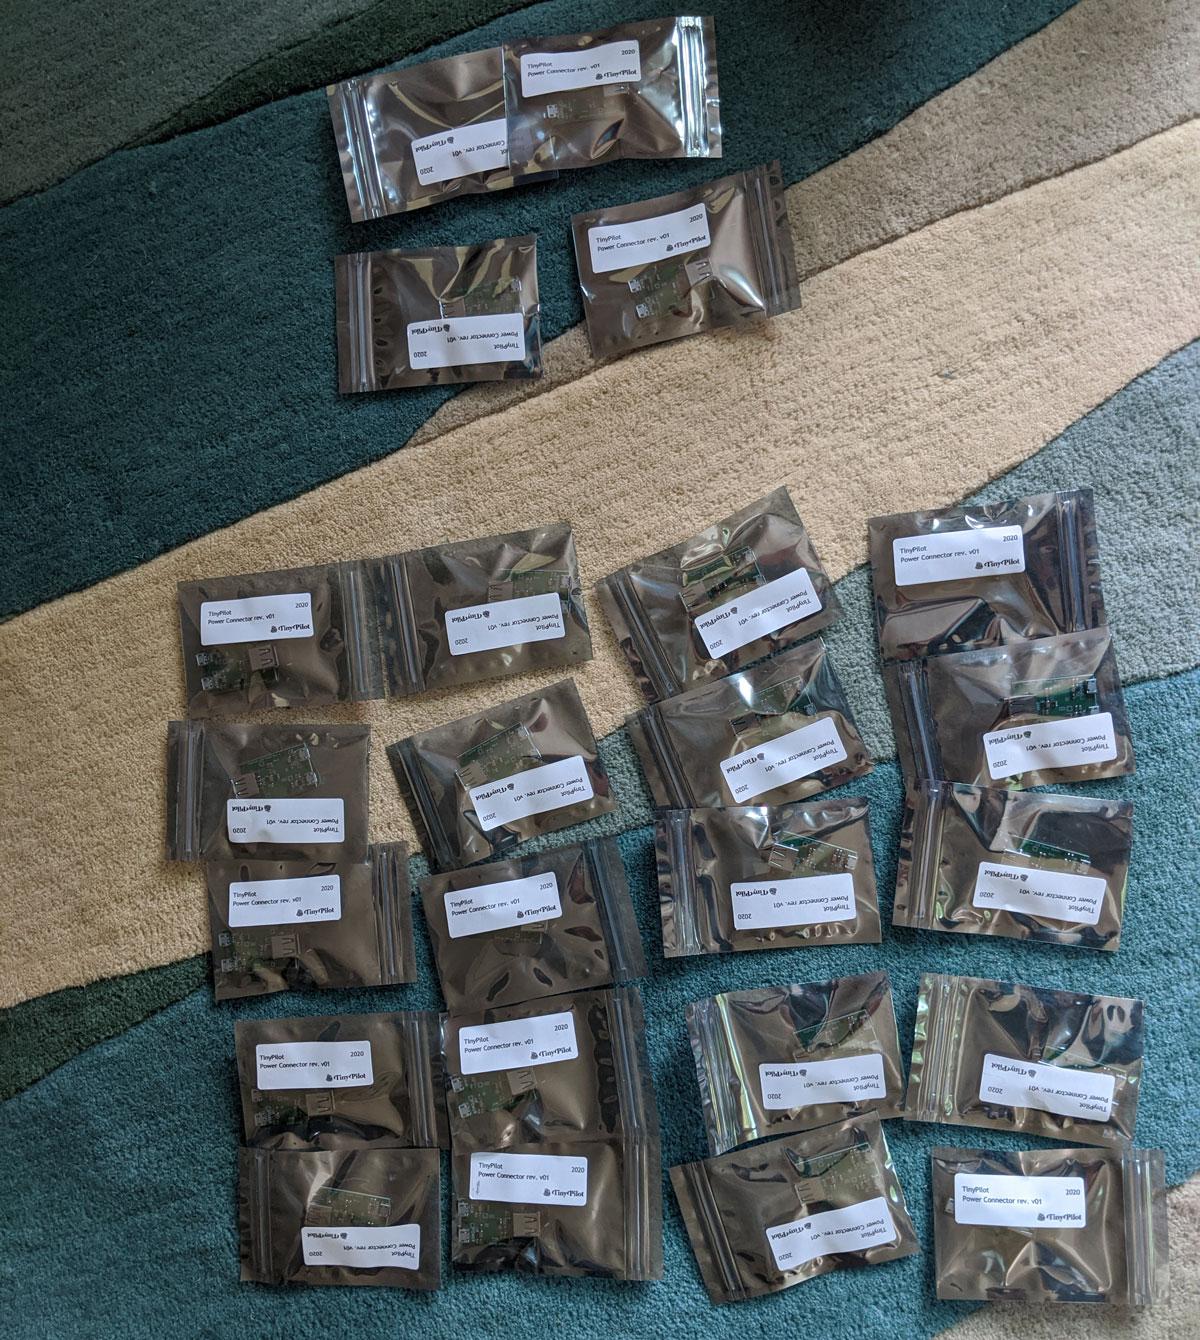
- Manufacturing process was automation + manual fixes.
Day 20
- The 3D printer finishes the remaining 70 cases.
- They include 10 experimental cases.
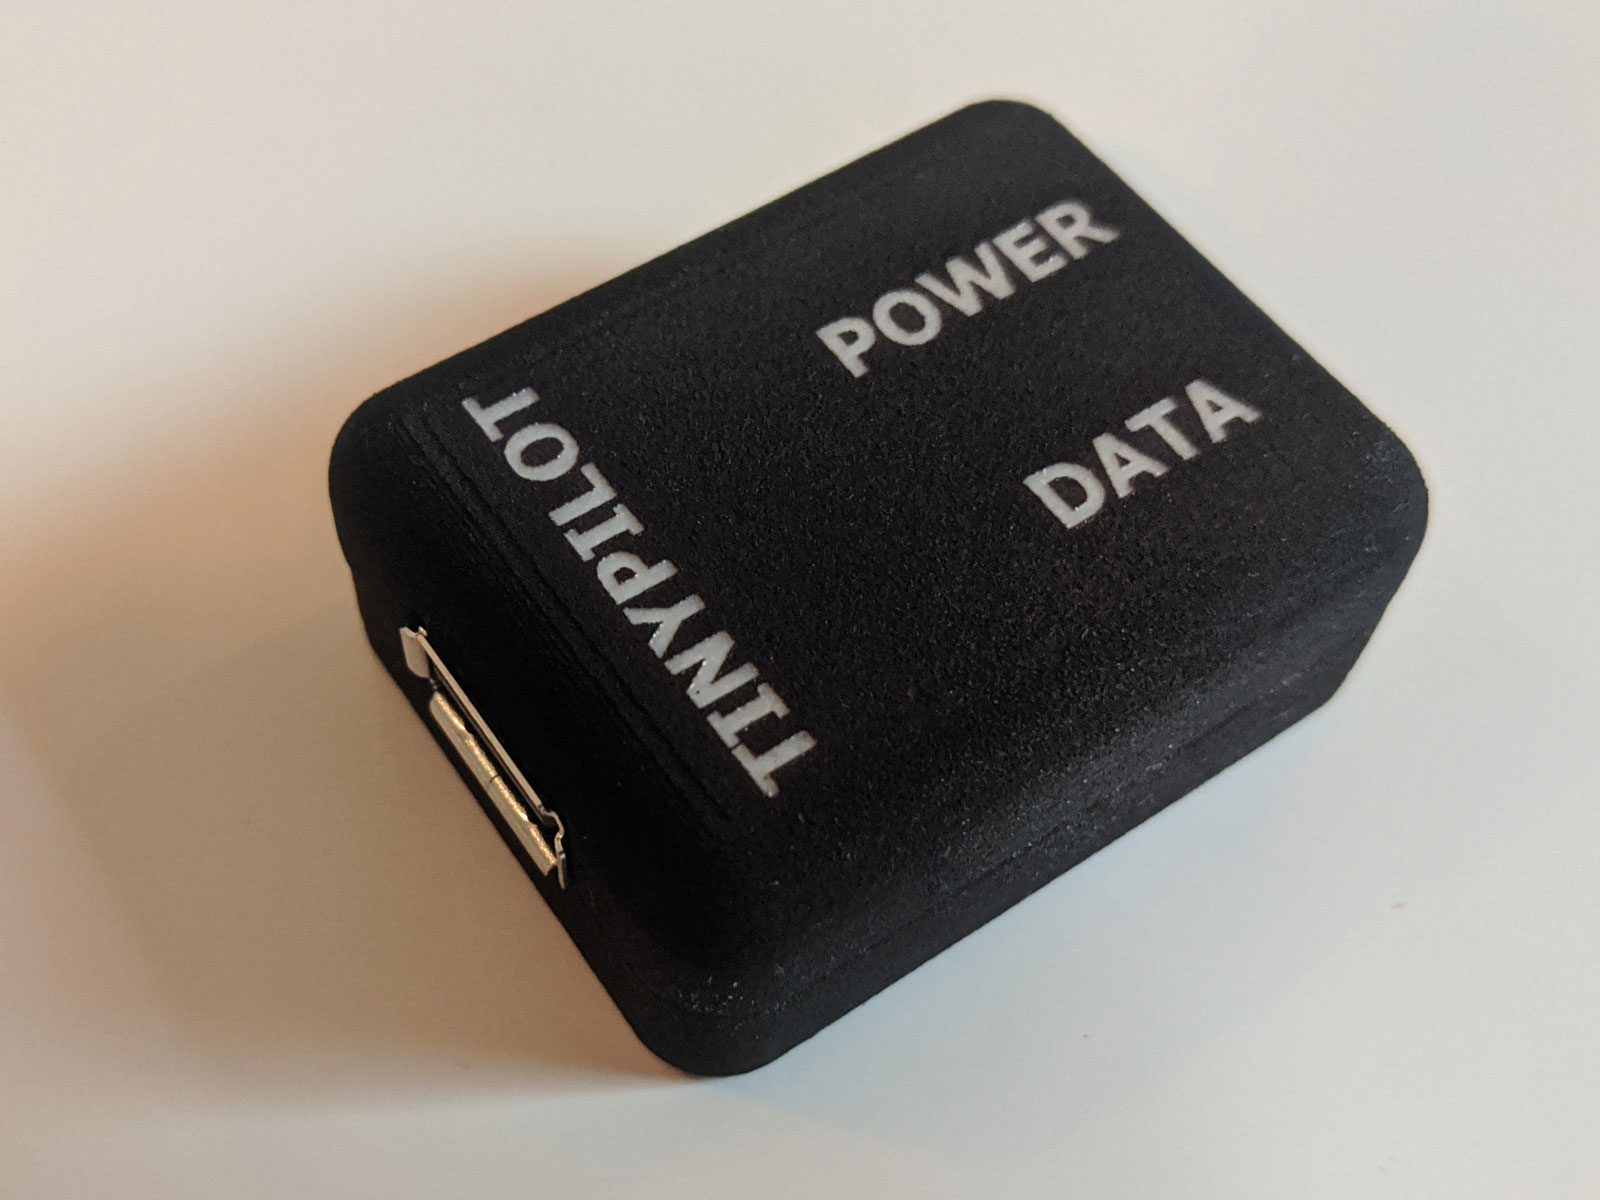
I like this new design so much that I switch all future production to black cases.
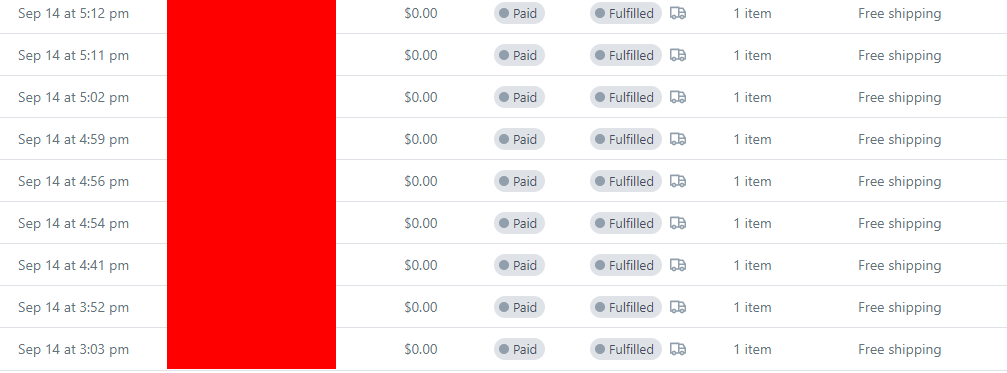
Day 21
I begin sending out the first completed power connectors as replacements to legacy customers.
Day 26
- I receive the remaining 74 completed boards
- With 100 cases and boards ready, the first run of production is complete.
Costs
- Boards: $2,897.70
- Design: $241.72
- Materials: $422.16
- Assembly, testing, packaging: $2,579.04
- Postage: $76.95
- Cases: $500.00
- Total: $3,297.64
Per-unit cost: $32.97
Case costs are after 75% subsidy from MA Innovation Voucher.
What went well
- Luck
- Almost everything worked well.
- Limited the number of vendors involved
- Prevented miscommunications, friction.
- Added padding to the time estimates I received
What went well
- Communicated to everyone that I was optimizing for turnaround time
- I estimated that I lost $50-100 for each day of delay, so I was willing to pay ~$50/day for options to expedite.
- Working in parallel with the 3D printer and electrical engineers
What could have been improved
- Underestimated total number needed
- After sending out free replacements to ~60 legacy customers, I had only 40 left to sell to new customers.
- PCB assembly time
- Biggest bottleneck, most costly part.
- Possible resolution: after prototyping, outsource assembly to two redundant PCB manufacturing firms.
What could have been improved
- Functional testing
- Some units were defective when they arrived to customers.
- Deadline slippage
- Three week delays happen one day at a time.
Questions?
Bonus: How’d I find vendors?
- Luck
- For both vendors, I was already in contact with them to discuss other physical improvements to TinyPilot.
- Electrical engineering firm
- Asked PCB manufacturers for recommendations.
- FORGE Mass: Nonprfit that connects MA startups to manufacturers.
- Asked friends for recommendations.
- 3D Printer
- Recommendation from a friend.